
A year or so ago I made one of my favorite projects to date. My Dowel Rod Starburst Mirror.


I’ve had more hits on the blog for that project alone than anything else, and I loved it so much I decided to make another. This one was much more time consuming than the last, but the end result was still the same, I’m smitten.
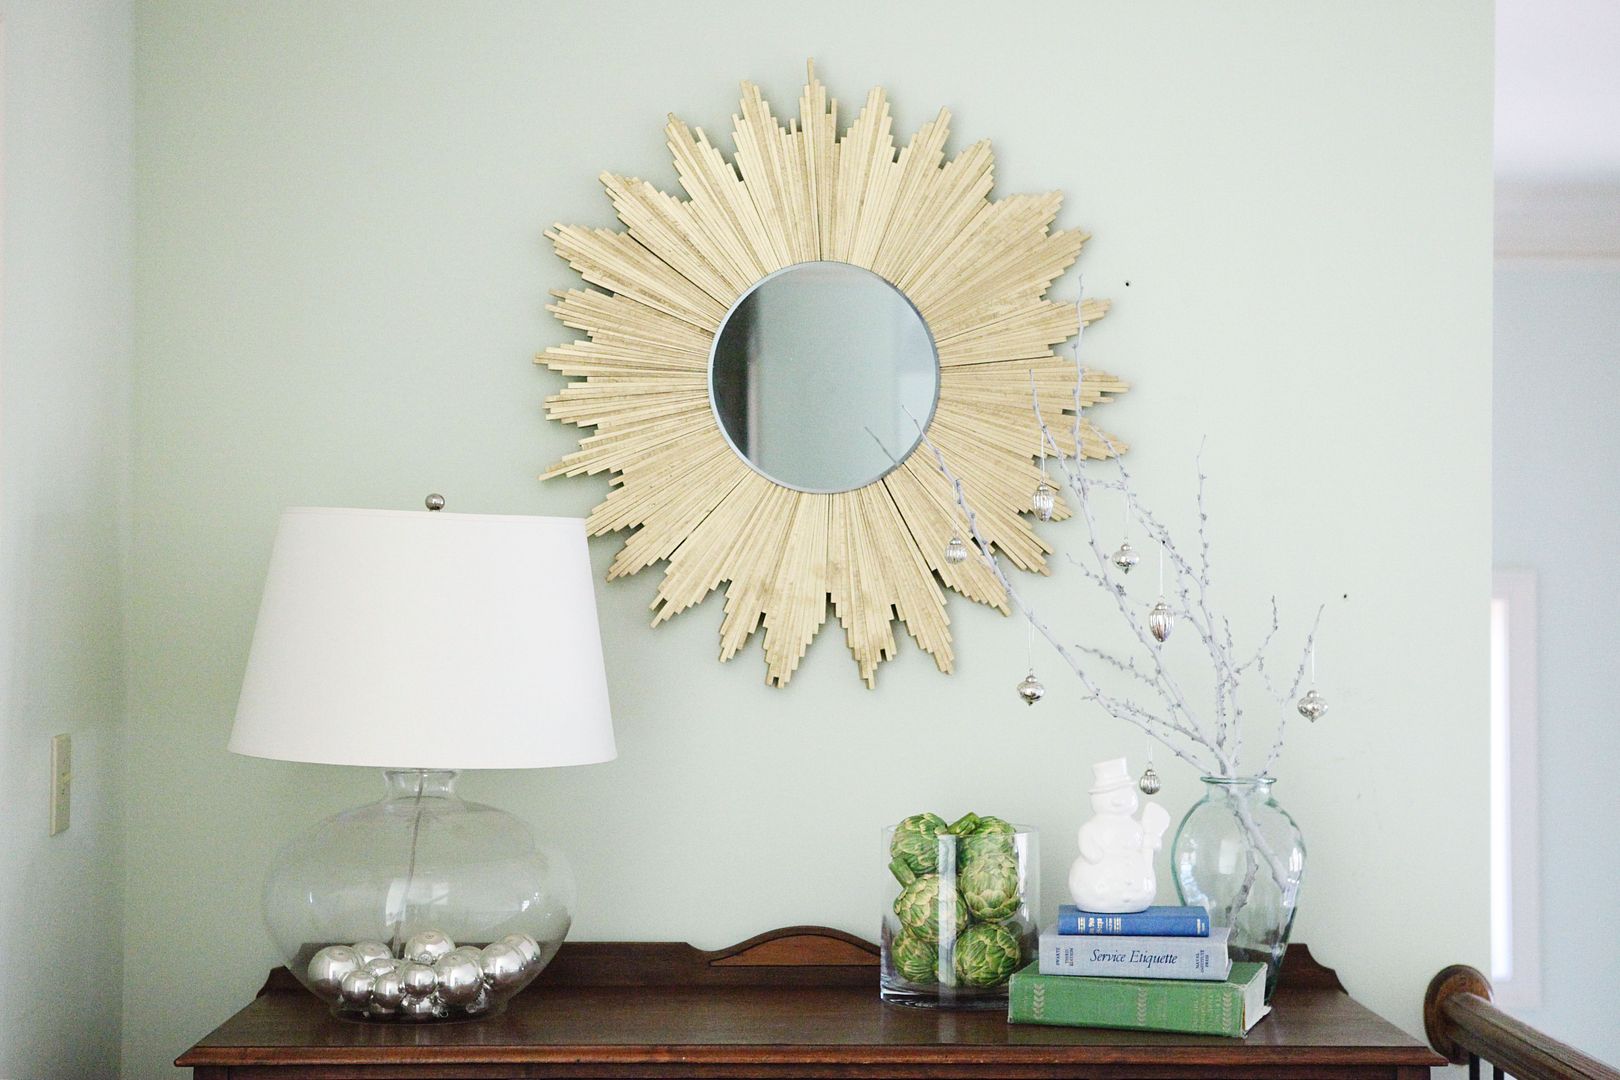
Behold, my latest creation:

This was before it was hung, but freshly completed.
It’s made of wood shims, purchased from Lowes. 16 packs to be exact.
I am not the brains behind this operation. I first found this mirror over on Bower Power Blog.
I knew I had to make it.
I found a few more inspiration mirrors too.


I’m not going to do a full tutorial as Katie has already done so and I pretty much followed hers, but I will say one thing. This project took me two days longer than it should have because my “glue” didn’t dry. I first used construction adhesive as Katie did, and after two days it still wasn’t dry, I picked up the stuck together wood shims, and it fell apart. I did however, with the use of my Dad’s nail gun, nail as much as the project together as I could, and then used Tight Bond Wood Glue and Gorilla Glue to hold anything that needed to be glued. So far so good, it’s still staying together as of today.
Here’s a story through pictures since I am too lazy to re-create the wheel and explain everything I’m doing.


My awesome assistant AKA my Dad!

50% off mirror from Hobby Lobby.

This is a wood shim. I’d never even seen one before this project.

Glue, glue, glue.

Glue, glue, glue some more.

Clamp to let dry.

This was during Christmas break while I was off work and hanging out with my parents. This is what everyone else did while I was working on my project!

Coming along.


Enough gluing, let’s pull out the nail gun.

Phase 1: Complete. Let “dry” overnight.


Prepping to cut out ply wood backing.


At this point I was still using construction adhesive even though I’d already tried that once. Don’t ask. The next morning this still wasn’t dry.

See? I picked it up and it came right off.


All dry now and starting with the primer.
Note: If you do this project on your own, I’d recommend painting before gluing the chunks of shims together. The nooks and crannies were very hard to get in.

You’ll note it’s not perfectly round in the center part. That’s because each chunk of 7 and 9 were done separately, eyeballed and put together. They were not lined up one bit.

Also, I did not sand. I definitely probably should have. But I’m lazy I didn’t think it was necessary since it was homemade and nobody would probably ever be inspecting it too closely.
The middle is a hot mess with all the glue, but that would be covered by the mirror anyway.
I took it home for a final after picture.

And then it sat on my dining room table since because I had to get the guts to hang it.
This baby is heavy.


I put screws in the back and tied electrical wire around it to hang.
I tried to find a stud to hang it on and I did, but it was not in the middle of the wall I wanted to put it. I probably still didn’t hang it the “right way” but I got it up using what I had and I am just hoping it doesn’t come crashing down in the middle of the night. It will not be pleasant for my heart or my mirror.
The lighting is horrible and the way it faces my cabinets I could not get a straight on shot, but you get the idea. It’s 30” in diameter with a 14” mirror.

It is nice and shiny in my little retro-rental-kitchen.


I’m so glad it’s D-O-N-E!
I love it, but I am going to stick to the dowel sunburst mirror.
ReplyDeleteThank you! Yes the dowel was MUCH easier and so versatile!
Delete